Farmhouse Sampler - Block 2 (Ribbon Quilt)

It's Wednesday and that means it's time for Block 2 of the Farmhouse Sampler quilt-along, the Ribbon Quilt block.
This is the simplest block in the whole quilt, but don't let that fool you in to zipping right through it. Take the time to get your seam allowances right so your block doesn't end up small.
Let's go!
CUT:
- four (4) 6" squares from A (Mist)
- four (4) 6" squares from B (Sand Dune)
- one (1) 5-1/2" square from A (Mist)
PRESS. With a hot iron -- no steam -- press your blocks to get rid of creases and wrinkles. Be sure you're pressing your blocks and not dragging the iron back and forth like you do when you iron clothes. Dragging causes distortion while pressing (lifting to move the iron) keeps your blocks straight and wave-free.
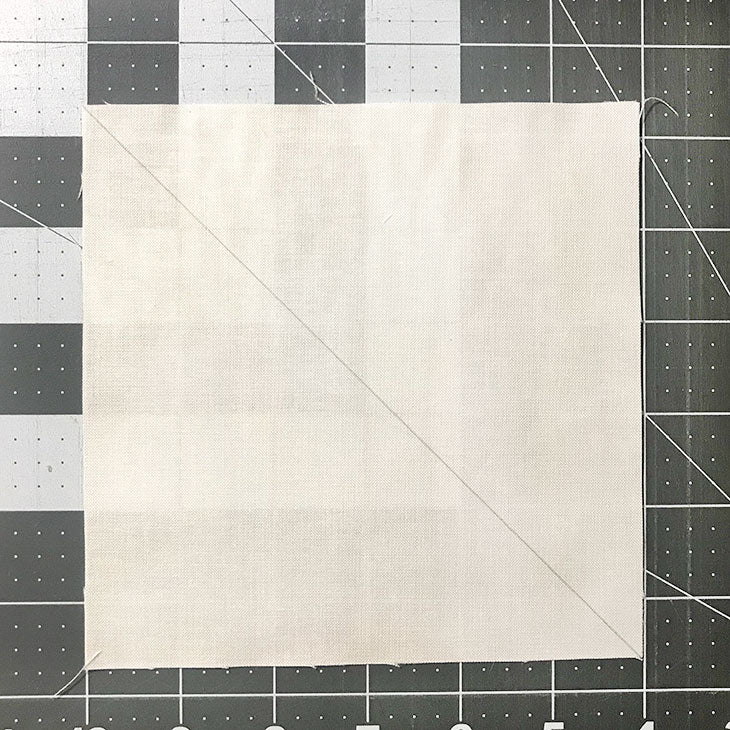
MARK. With a pencil, draw a diagonal line on the wrong side of your four 6" "A" blocks.
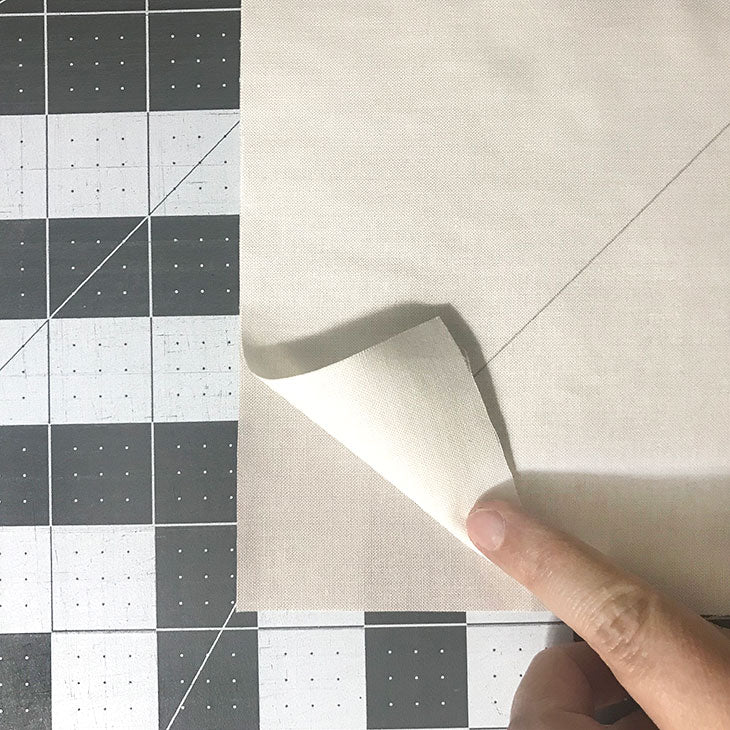
PLACE BLOCKS RST. Pair your four "A" blocks with your four "B" blocks (6" blocks) with RST.
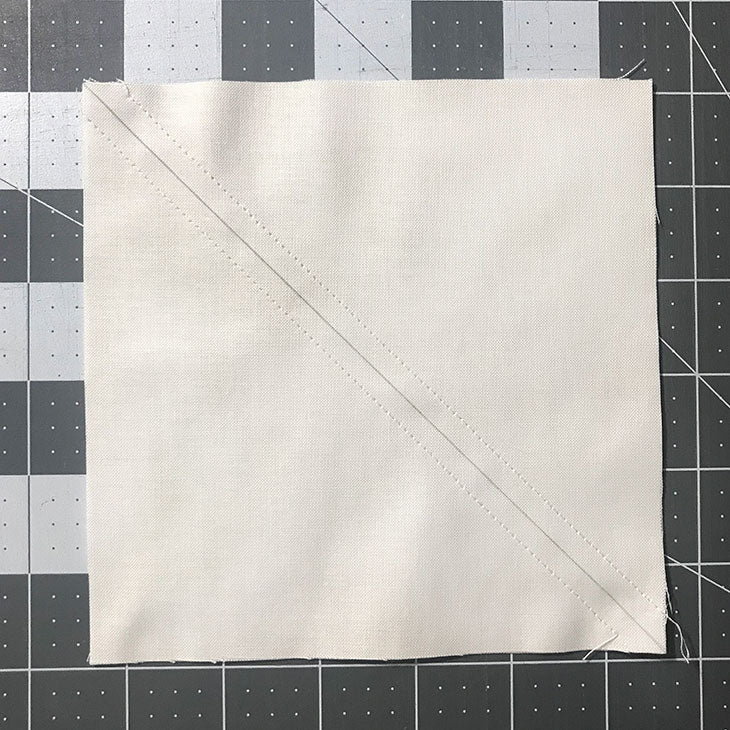
SEW. With your sewing machine, sew 1/4" seam on both sides of the diagonal line. Do this for all 4 block sets.
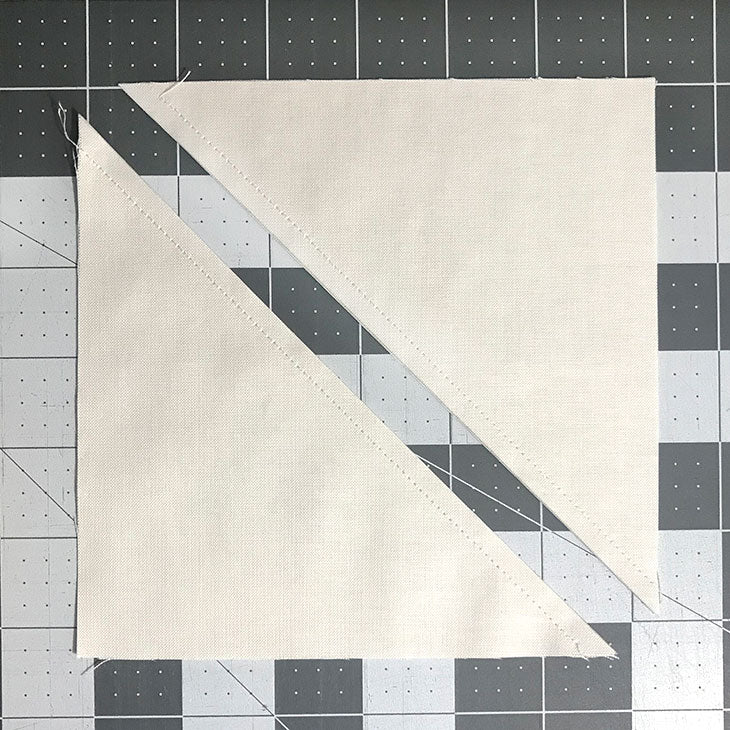
CUT. With your rotary cutter, cut along the drawn diagonal line. Repeat for all 4 blocks. Each block will yield 2 HSTs, giving you a total of 8 HSTs.
PRESS. Press your HSTs will seams toward the darker side. (TIP: I like to press my blocks once before opening them before moving on to press the seams to the side. My blocks turn out crisper with less distortion.)
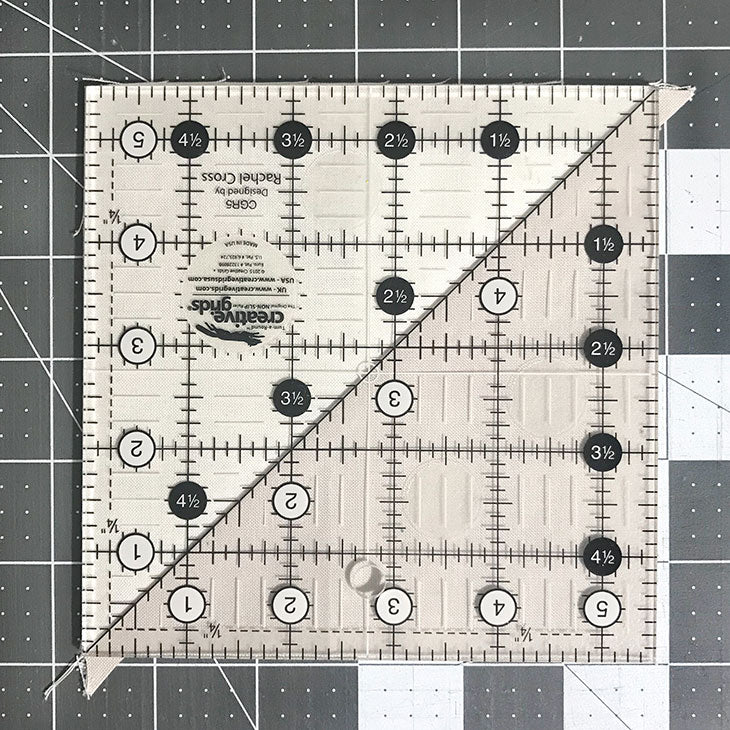
TRIM. With a square ruler, trim your blocks down to 5-1/2" square. There won't be much to trim, but this step will ensure that your blocks are square.
We're going to use the same technique we used with block 1, so line up the diagonal line on your square ruler with the diagonal line created by your 2 triangles. Keeping the diagonal in place, align the left and bottom edges of your HST at just a smidge over 5-1/2". Trim the top and right sides with your rotary cutter.
Next, rotate your block to trim up the other 2 sides. This time you will line up your block with the 5-1/2" lines. Trim and repeat for remaining HSTs.
(NOTE: If you're using a 5-1/2" square ruler to trim like me, you can simply center your ruler on your block with the diagonal line on top of the diagonal created by your HSTs. Trim all 4 sides at once.)
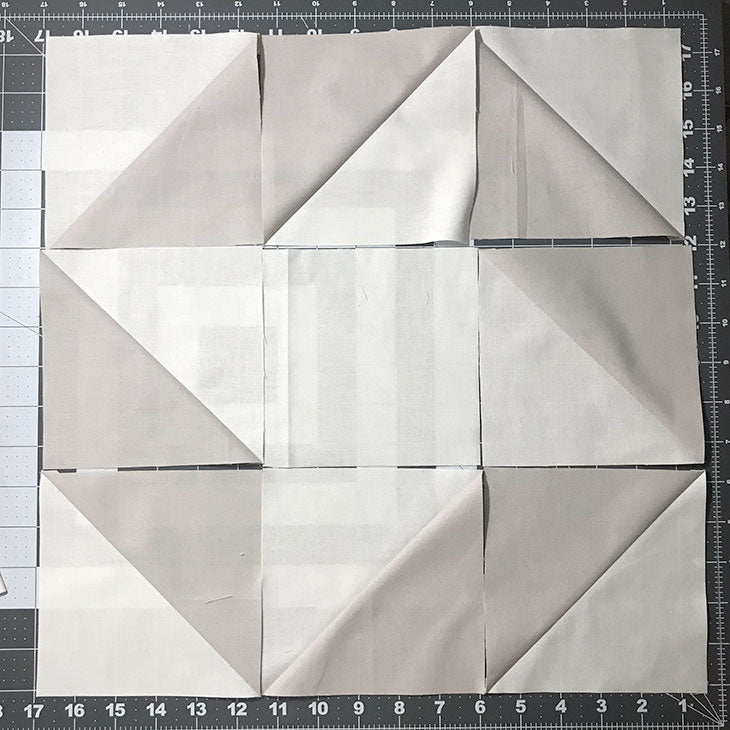
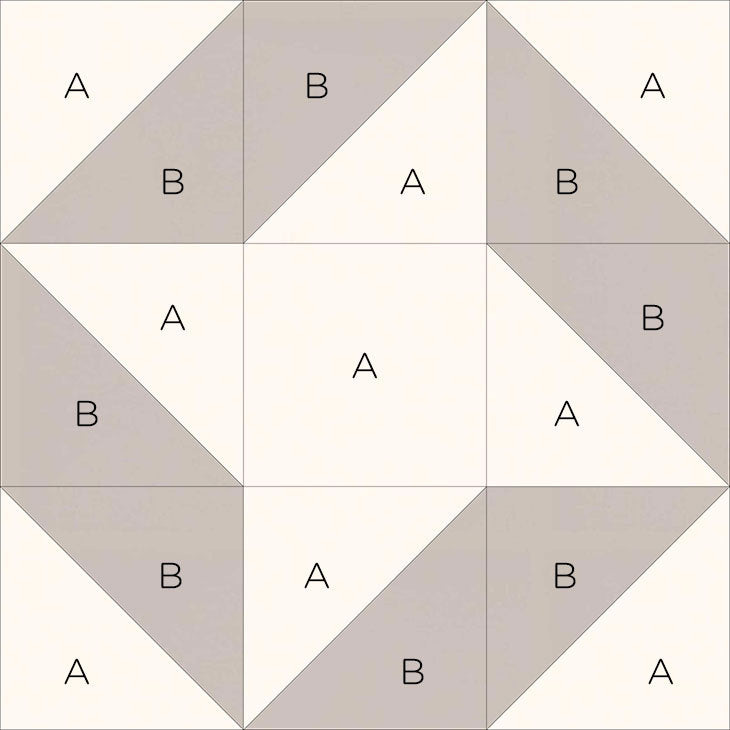
LAY OUT. Using the block diagram as a guide, lay out your block.

PIECE. Piece your blocks together, RST, to create 3 rows. (In row 1, piece the 1st and 2nd blocks together, then piece the 3rd block to the first 2. Repeat for all rows.)
Because we alternated the direction of our seams in an earlier step, we'll be able to nest seams -- as shown above -- on the blocks that need it. And nested seams just make me happy because they help me get perfect points. ☺️
PRESS. With a hot iron, press your seams to one side. Alternate the seam direction on your 3 rows so we can keep on nesting our seams.
PIECE. Piece your 3 rows together, RST. (Piece row 1 to row 2, and then the top half to row 3.)
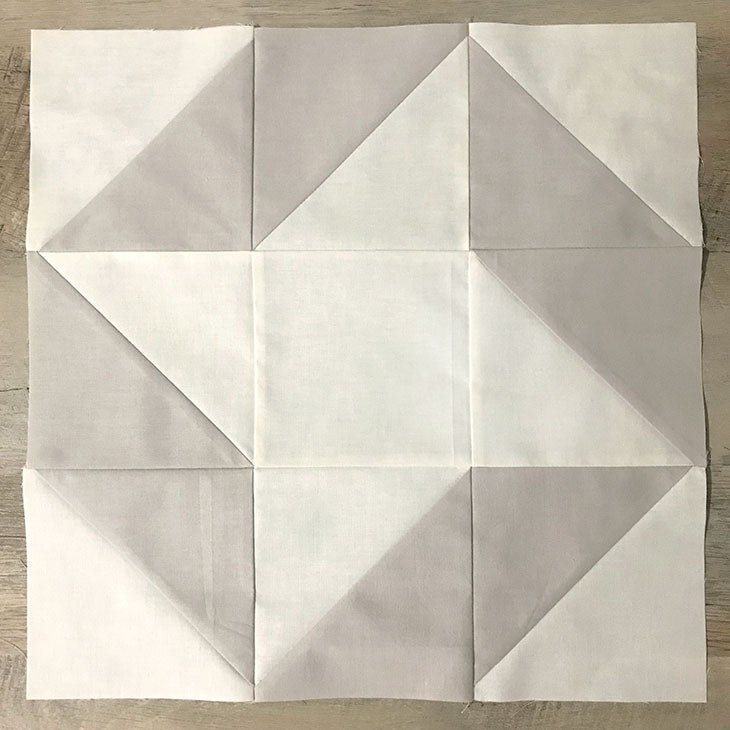
PRESS. Press your seams and then give your final block a good press with a hot iron. Your block will measure 15-1/2" x 15-1/2" unfinished, or 15" finished.
How'd you do on this one? Be sure to share your progress on Instagram by using #farmhousesamplerquilt. We're checking the hashtag daily and would love to see your blocks, too!
See you back here on Saturday for our third block.
Well that’s wonderful to hear, Debra! Happy to hear your blocks are turning out great. Keep going! This quilt comes together pretty quickly.
2 Blocks done…so excited to be doing this!!! Your instructions are great…I don’t think I usually measure as carefully as you remind me to…hence…15 1/2 inch blocks!!!!!