Farmhouse Sampler - Block 3 (Arkansas Traveler)

Happy weekend to you! We've got another block in the Farmhouse Sampler quilt to share today -- and it's one of my favorites. Before we jump in to that, though, I just wanted to give a quick little reminder to share your Farmhouse Sampler block progress over on Instagram by adding #farmhousesamplerquilt to your pictures. We'd love to see where you're at. There are no strict timelines on this quilt-along, so feel free to share whatever block you're working on. Also, if you're private on Instagram, we won't be able to see your images and connect with you unless we're following you.
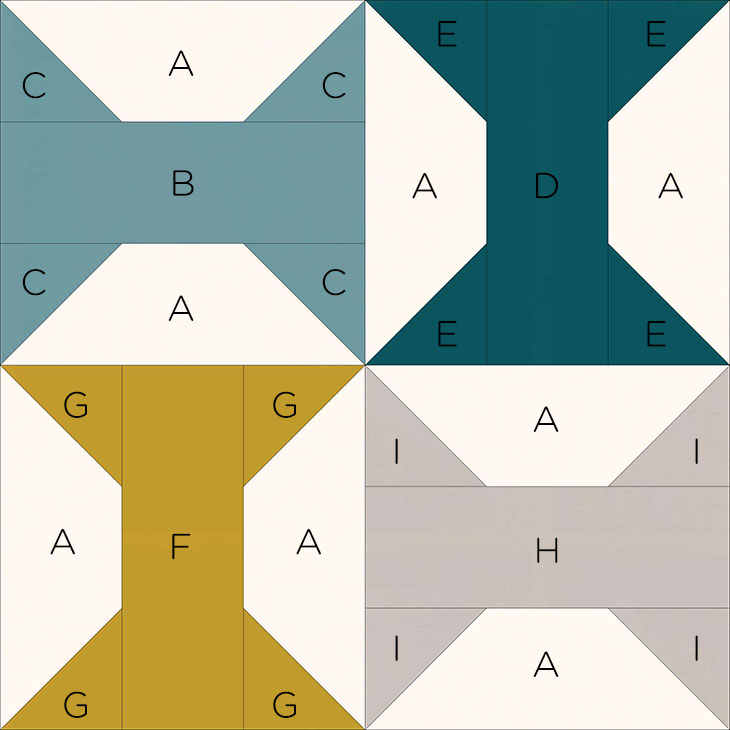
So let's get going with block 3, the Arkansas Traveler.
CUT:
- eight (8) 3" x 8" rectangles from A (we used Mist)
- four (4) 3" squares each from C, E, G, and I (we used Malachite, Serpent, Spark Gold, and Sand Dune)
- one (1) 3" x 8" rectangle each from B, D, F, and H (we used Malachite, Serpent, Spark Gold, and Sand Dune)
PRESS BLOCKS. With a hot iron, no steam, press your blocks to remove creases and wrinkles. Remember to lift and press instead of dragging the iron.
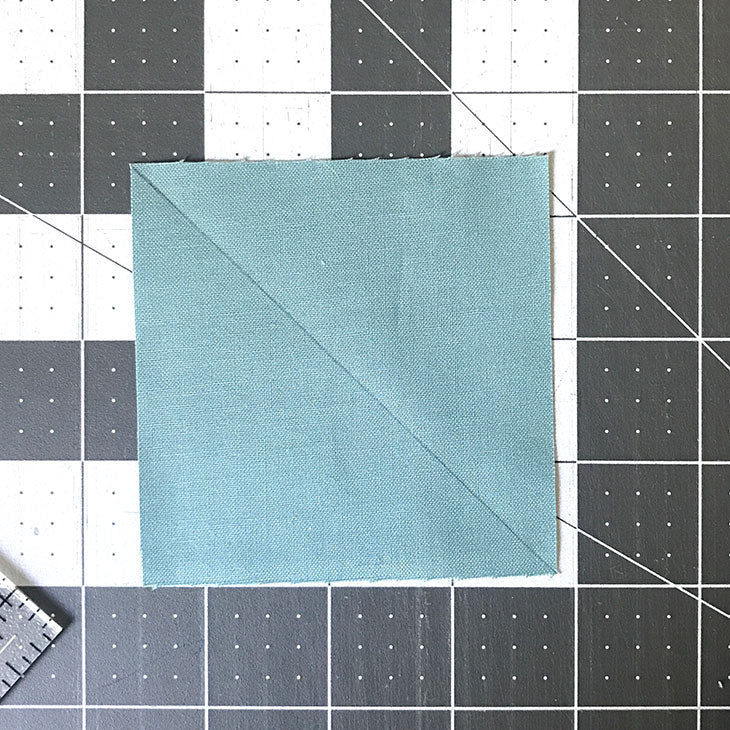
MARK. With a pencil, draw a diagonal line on the wrong sides of all 16 square blocks (C, E, G, and I).
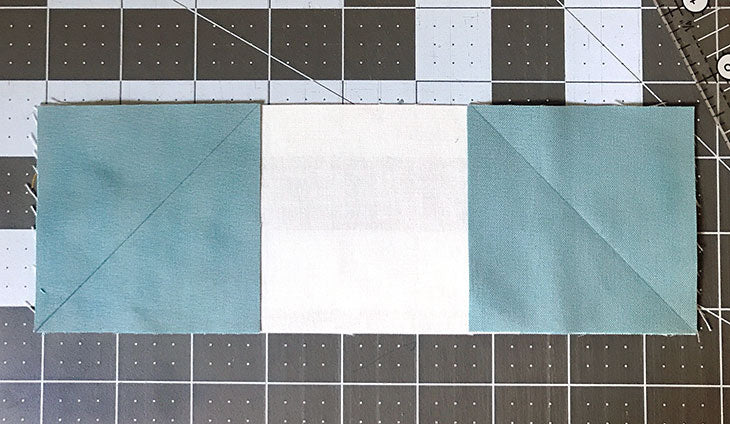
PLACE RST. Gather your 16 squares and 8 "A" blocks. On each "A" block, place a square on both ends of "A", RST, with diagonal line at bottom corner coming up through the middle of the block. With your sewing machine, sew along the line. Repeat for all squares and "A" blocks. (You will have 8 units.)
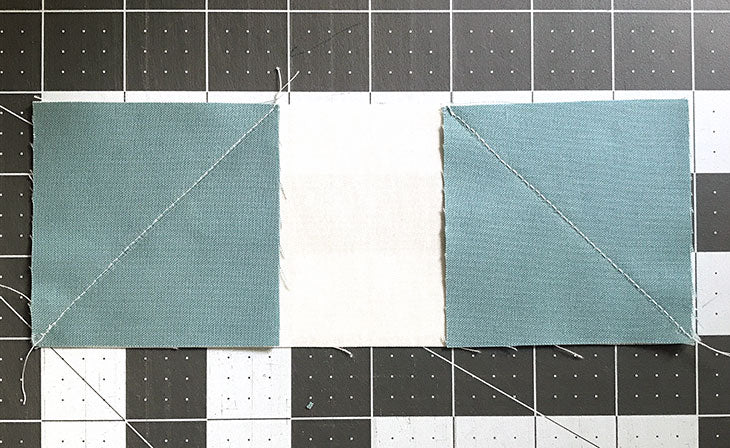
PRESS BLOCKS. With a hot iron, press blocks while still closed.

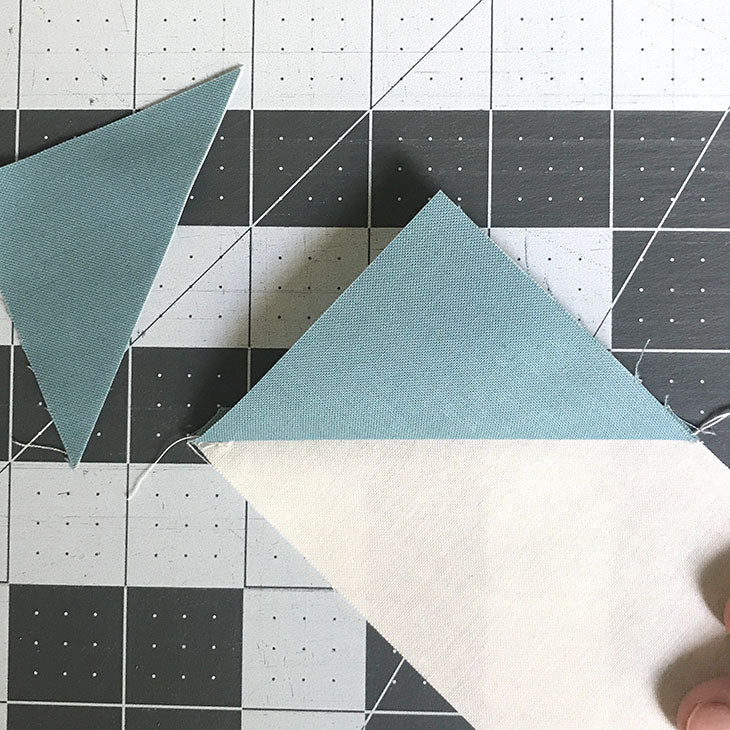
TRIM CORNERS. Next we're going to trim off the corners. To do this, line up the 1/4" line on your ruler with your seam line (like shown above; you can see some of my stitches above the 1/4" line). Before you trim, make sure you're just cutting off the corners and not cutting through the main part of the block.

Once you've got it lined up, use your rotary cutter and trim (as shown above). Repeat for all corners.
PRESS. With a hot iron, press your blocks with seam toward the dark side.
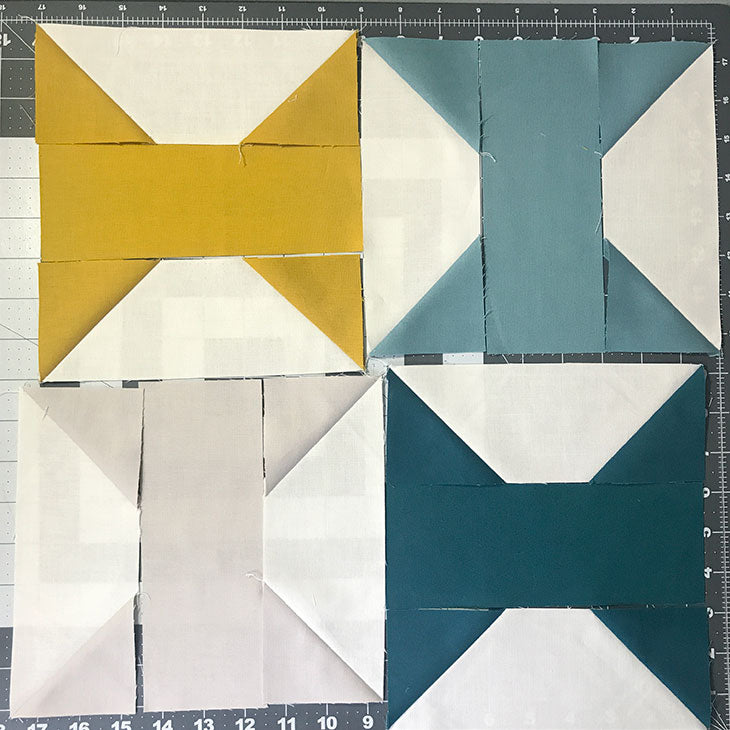
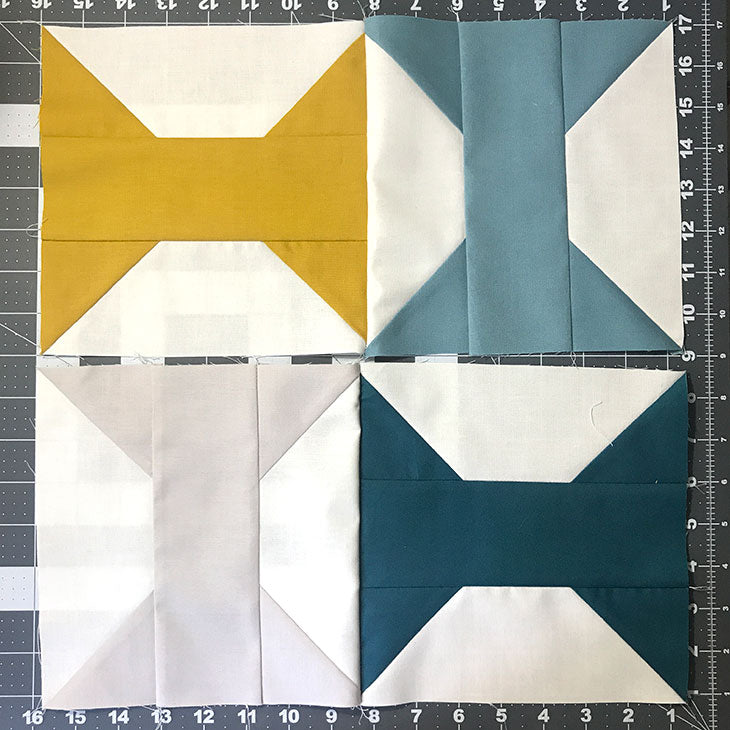
LAY OUT. Using the quilt block diagram as your guide, lay out your block.
PIECE ROWS. Now you've got 4 spool-shaped sections. With your sewing machine, piece your spool block rows RST using 1/4" seam allowance. Repeat for each section.
PRESS SEAMS. With a hot iron, press your seams toward the inside.
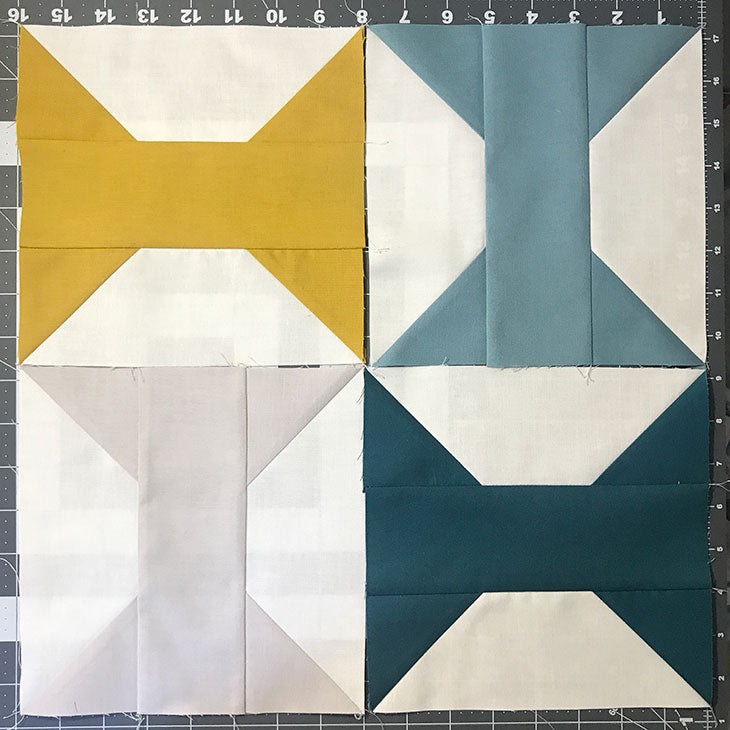
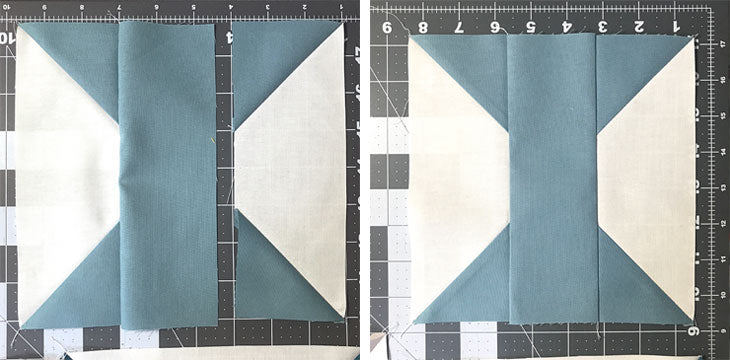
LAYOUT AND PIECE. Layout your block again. With a 1/4" seam allowance, piece the top 2 spool blocks together. Repeat for the bottom 2 spool blocks.
PRESS SEAMS. With a hot iron, press the seams in your 2 rows in opposite directions. This will allow us to nest our seams to get perfect points in the next step.
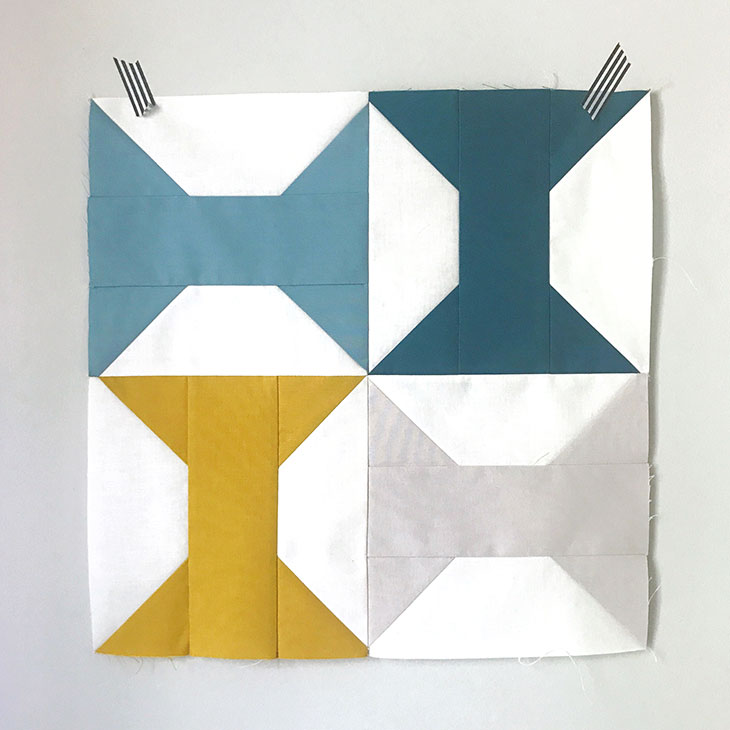
PIECE. Now you have 2 rows. With a 1/4" seam allowance, piece the 2 rows RST.
PRESS. With a hot iron, press your seams using your desired method. (I like to press to the side, but some prefer to press seams open.) Your block will measure approximately 15-1/2" square, or 15" finished.
How did it go? If you have questions, feel free to leave a comment on this post and we'll respond. Also be sure to share your progress with us over on Instagram. You can tag us @bloomeriefabrics and add #farmhousesamplerquilt to your pics. You can also search the hashtag and connect with others who are making the quilt.
Hey Marsha! Which way you choose to cut a new 3″ × 8″ strip shouldn’t really matter if you’re working from 2-1/2 yards of background fabric to begin with. The 2-1/2 yards of background fabric required for this quilt has a little bit of padding built in to it. As long as you are making good use of your fabric (not Swiss-cheesing it like I mentioned in the first block post) and have set aside enough length to do long strips between your rows, you will have enough background fabric to make a few mistakes or need a few extra cuts. Hope that helps!
So, if I need to cut off a new strip of background fabric for the 3 × 8 inch strips, I only need three, would it be better to cut an eight inch strip or a three inch strip from the width of fabric?